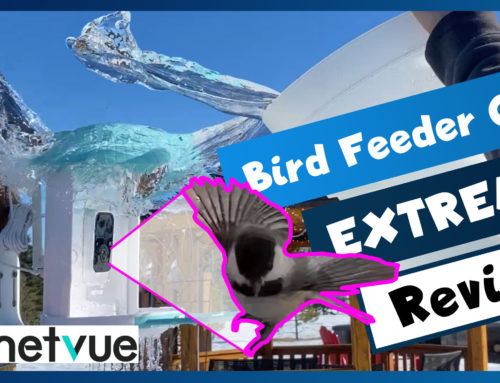
Today I’ll show you everything you need to know about setting up this floodlight security camera by Escam. I’ll install it over my garage door and we’ll check out the footage in addition to the 2-way audio and alarm features. We’ll setup the app and even connect this one to a dedicated NVR and to BlueIris.
Let me start off by saying how excited I am to be creating this video. I’ve been eyeing these all-in-one floodlights and a security camera for quite a while. Now, these are meant to be wall mounted and can be installed on any round or octagon junction box and hard-wired into your home’s electricity. It has WiFi ability and can be monitored remotely on your mobile. It’s available in both black and while and costs about $200US but get this. Sometimes they go on sale for $170, but if not, I’ll share a $30 coupon code in the description. This is not an ad for them I’ll tell you what I like and dislike about this product.
Discount Code: GKH26TPU

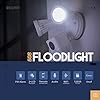


Floodlight Camera by ESCAM, No Monthly Fees - Wireless Outdoor Security Cameras for Home Security System with Motion Sensor Light - HD, Motion Detection, Siren Alarm, Two Way Talk, White
It’s important to note that this device can only use 2.4GHz Wi-Fi. Make sure to use the 2.4GHz range on your modem or router.
I’m going plug mine in inside so I can make sure everything is working including the WiFi connection before doing the permanent install.
I’ll plug the camera into an outlet here to quickly get it setup, plus, it’s nighttime right now. The lights flash and you hear a chime a few times. Now there’s a quiet clicking noise coming from the speaker. This happens when a user is connected to the device.


Floodlight Camera by ESCAM, Wireless Outdoor Security Cameras for Home Security System with Motion Sensor Light - HD, Motion Detection, Siren Alarm, Two Way Talk, Black
I have already verified with my phone that I have good connectivity on the 2.4GHz network at my shed, so let’s get this installed.
The breaker is shutoff and I’ve ensured the electrical lines are dead.
Following the install guide from earlier, here is a quick timelapse showing how easy this fixture is to install. And within 15 minutes, it’s fully installed.
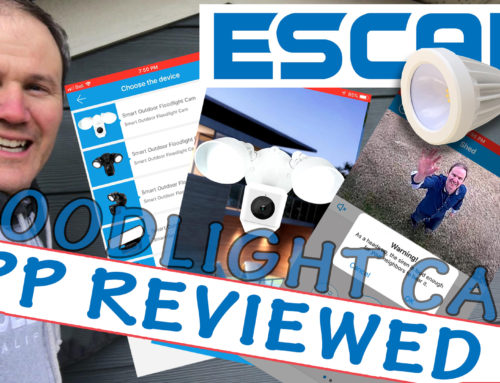
I really want to give the app the time it deserves. In fact, I’ll create a second video showing all of its features. But, long story short, the app is… well, great. If you want to see how it operates like setting up motion detection zones, sending prerecorded messages to the speaker and formatting the micro SD card, do check out that video.
Not only can your record the footage on a micro SD card, you can connect this camera to BlueIris or even your NVR through ONVIF. This is another feature about this camera which surpasses other big-name floodlight cams. Allowing access to the footage on other recorders is always a plus since I have these already setup to be recording footage accessed remotely.
To get the camera’s IP address, install this light IP search tool. The link will be below. Go through the setup wizard and you’ll be presented with the camera’s IP address in the IP address management tool. Mine is 192.168.0.119.
In BI, select a channel and give the camera a name. On the video tab fill in the IP address, credentials from the app and make sure generic/ONVIF is selected. On the audio tab, enable this feature. Once the video stream appears, listen to the auto through your PC by clicking the head phones in the bottom right.
On my NVR (which has a connection to my network), find an open channel and then click edit and select ONVIF and update the IP address to that of the floodlight cam. Change the password and port and save.
Here is a quick 24 hours of footage.
Lastly, if you want to take this camera a step further, you can access its web user interface. There are even more features in here but the user interface is not pretty, since it’s basically just a placeholder for advanced setup. The only thing I want to bring up here is the User page. There are 2 extra users; user and guest. Looks like the passwords are user and guest. As a security nut, I’m going to update these passwords. You can also set the IP address to static if required.

![[Older Version] SanDisk 128GB Ultra MicroSDXC UHS-I Memory Card with Adapter - 100MB/s, C10, U1, Full HD, A1, Micro SD Card - SDSQUAR-128G-GN6MA #1](https://m.media-amazon.com/images/I/41FwW1I45rL._SL100_.jpg)
![[Older Version] SanDisk 128GB Ultra MicroSDXC UHS-I Memory Card with Adapter - 100MB/s, C10, U1, Full HD, A1, Micro SD Card - SDSQUAR-128G-GN6MA #2](https://m.media-amazon.com/images/I/41A8MQKLuEL._SL100_.jpg)
![[Older Version] SanDisk 128GB Ultra MicroSDXC UHS-I Memory Card with Adapter - 100MB/s, C10, U1, Full HD, A1, Micro SD Card - SDSQUAR-128G-GN6MA #3](https://m.media-amazon.com/images/I/411mXHWX8aL._SL100_.jpg)
[Older Version] SanDisk 128GB Ultra MicroSDXC UHS-I Memory Card with Adapter - 100MB/s, C10, U1, Full HD, A1, Micro SD Card - SDSQUAR-128G-GN6MA
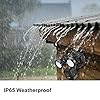
My long-anticipated wait for this WiFi floodlight cam combo has paid off, especially at this price point. The hardware, is high quality and love the SD card slot and ONVIF abilities make this camera a step above its competitor. The camera’s motion sensor and the PIR sensor is very sensitive where the wind would set it off just by moving the grass and leaves. And it looks like a had a visit from a cat. The physical install was super easy and took 15 minutes. The free app is easy to understand and to connect to the camera. There is little to no lag and the speaker, including the 2-way audio is quite impressive. The footage is good and the lights offer plenty of light for a space up to 75 feet. So yeah, I’m very happy with it. I think this is everything you need to know about this product and getting it up and running. Check out more features in my app review in my next video and product links are in the description below.