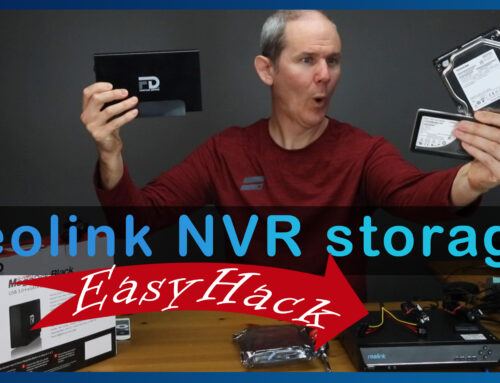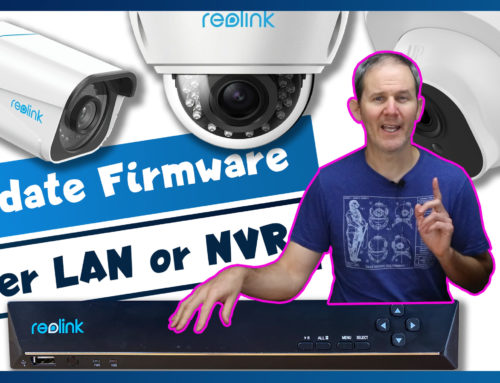
Today we are installing this 4-camera surveillance system from Reolink. I’ll review with you my install location, run the wires from inside my home to the proposed installation area outside, mount the cameras and lastly check out the footage.
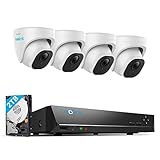


REOLINK 4K Security Camera System, 4pcs H.265 PoE Wired Turret 4K Cameras with Person Vehicle Detection, 4K/8MP 8CH NVR with 2TB HDD for 24-7 Recording, RLK8-800D4
As you probably saw in my last couple videos, this is a 4K security camera system in a box, including 4X 4k cameras and NVR or Network Video Recorder and it costs around $500US. In those videos, I unboxed the system and introduced all of their technical specifications and then initialized the NVR to ensure it works as expected. Now it’s time to install the cameras in my proposed location. If you are not sure where to install your cameras, do check my video on Planning your system installation.
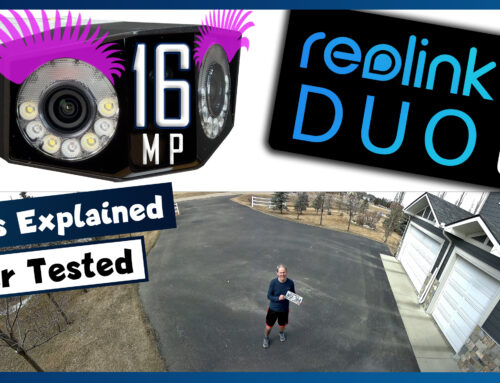
The Reolink system we are installing today is model RLK8-800D4. The cameras are model number D800 and require a wired connection to the recorder to support that high quality video and to power each camera.


Dshot 12 Port UTP 10 inch Cat6 Network Wall Mount Surface Patch Panel
$14.98![[High Performance Network Cable] Our outdoor cat 6 lan cable is 23 AWG with 4 pairs (8 conductors). Suitable for 1 and 5 Gigabit speed up to 328 feet and 10 Gigabit speed up to 165ft depending on the installation environment. Bandwidth tested up to 5...](https://m.media-amazon.com/images/I/41l+8ngGFnL._SL160_.jpg)


trueCABLE Cat6 Direct Burial, 500ft, Waterproof, Outdoor Rated CMX, Black, 23AWG Solid Bare Copper, 550MHz, PoE++ (4PPoE), ETL Listed, Unshielded UTP, Bulk Ethernet Cable
$164.99 ($41.25 / count)![[High Performance Network Cable] This riser rated cat 6 lan cable is 23 AWG with 4 pairs (8C). The overall aluminum (AL) foil shield helps eliminate cross-talk and prevents electromagnetic interference (EMI). Suitable for 1 and 5 Gigabit speed up to ...](https://m.media-amazon.com/images/I/41TxuPvj03L._SL160_.jpg)
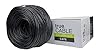
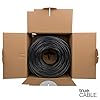

trueCABLE Cat6 Shielded Riser (CMR), 1000ft, Black, 23AWG Solid Bare Copper, 550MHz, PoE++ (4PPoE), ETL Listed, Overall Foil Shield (FTP), Bulk Ethernet Cable
Alright guys, thanks for letting me share how I installed my 4K security cameras in this location and showing you that outstanding video quality. When installing these devices, running network wires can be a challenge especially where there is limited access behind walls or attics. Installing into an eave or a wall where you have space for the wires behind the mounting surface definitely would make things easier. Just the same, I’m happy to share how I did my install with a patch panel, trencher, conduit and junction boxes. Make sure to check out my other Reolink videos and links for everything seen here today can be found in the description below. Please give me a thumbs up if you liked this video, it really means a lot and go ahead and subscribe to be notified when I publish more home tech projects that you can do yourself. Thanks for watching.
REOLINK 4K Security Camera System, 4pcs H.265 PoE Wired Turret 4K Cameras with Person Vehicle Detection, 4K/8MP 8CH NVR with 2TB HDD for 24-7 Recording, RLK8-800D4
Here are the camera’s default setting used in this video and the official distance from the license plate to the camera.