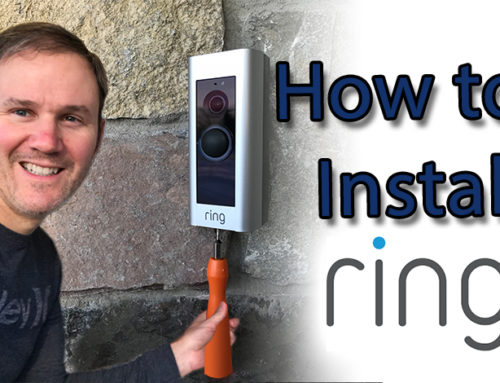
Hey Guys, this is the start of a series of videos on the Ring Pro Doorbell. We are doing an unboxing today, and later installing it, creating an account and playing with various features such as motion detection and cloud recording.
This is huge upgrade to any traditional doorbell. It replaces your current exterior doorbell button with a 1080HD camera with two-way communication. The button still makes your old inside doorbell ring, but also sends notifications to your smart device. This device is powered using the electricity from your existing doorbell, but communicates to your network and the Internet via Wi-Fi.
Let’s look inside the box to see what sets Ring ahead of its competition.

Auto Amazon Links: No products found.
We took an up-close look of the doorbell and you can see the 3 IR LED lights inside. I can’t wait to see them in action.
I won’t be installing this today as it’s -20 celsius. We’ll do that another day soon… hopefully. Thanks for checking out this quick unboxing segment.